Wednesday, May 6, 2015

Holy Delicious Raspberry Cupcakes!

This recipe has been the easiest one I have ever used for homemade cupcakes, as well as the most delicious! (Yields 12 cupcakes)


All of the necessary ingredients for BOTH cupcakes and frosting.  See, I told you it was easy! (Missing: Raspberry Jam, my sister had to pick some up at the store)


All of my decorating tools used.  Didn't end up using the sprinkles, the frosting color was too pretty to cover up.


My cupcake pen is one of the best $10 I've spent.  It fit all of this batter inside, usually you may need to fill it twice.  Since this recipe yields 12 cupcakes, it was perfect.  I do recommend spraying the inside with cooking spray before pouring the batter into it so it doesn't fully stick to the edges of the bottle.


This is my go-to decorating tip when making regular size cupcakes.  Mini cupcakes soon to follow in the up-coming weeks.


Highly recommend using a coupler with the tips.  It keeps the tip in place when decorating.


Step 1:  Whisk together the flour, baking powder and salt in a medium sized bowl.  You will be using a different bowl or a stand mixer for the additional ingredients.


Step 2:  Cream the butter.  It should look similar to this, if it is chunky, it's too cold.  Let it sit for about 5 minutes on the counter and have a couple sips of your wine in the meantime.  After 5 minutes, try it again.


Creamy Butter.


Step 3:  Add sugar to the butter and mix on medium-high until fluffy and incorporated.  My picture looks a bit chunky but if you look at the next picture it looks how it should.


Step 4:  Add eggs one at a time.


This is after both eggs have been added.


Step 5:  Adding the tasty vanilla.  I swear by this stuff.  I use it in place of all my vanilla extract in baking. It is thick, smells fantastic and at the top of the jar you can see the vanilla beans that this stuff contains.  It really does make the dish.  I found it on a whim at Wegmans and had to try it, and haven't bought anything else since.  It also lasts forever!  (If your sister doesn't drop it on the kitchen floor like mine did, but she did replace it) It's around $11 for this bottle and can be found at Wegmans, Williams Sonoma and I even think Wal Mart might carry it.


Look at those vanilla beans!


Step 6:  I didn't get a picture of myself adding the flour or milk but this is when you do.  Add a third of the flour mixture, beat on low speed.  Add milk, beat again on low.  Repeat until all ingredients are incorporated and your batter looks like this.


Fill your cupcake tins 2/3 of the way full and bake at 350 degrees for 20-25 minutes.  I baked mine for 18 and they were perfectly done.  Time them on how you know your oven bakes, the 20-25 is recommended, not necessarily the exact time they should bake.


I've always gone by the method of if the tops spring back up when you touch them, then you know they are done.  I don't really bother with cupcakes and the toothpicks or dry spaghetti noodle method.  Use whichever method you feel most comfortable with.


A nice soft crust around the edges is exactly what you are looking for!


You can even see the vanilla beans on the top of the cupcake after they've baked!


Now while the delicious smelling cupcakes are cooling, you want to make your frosting.

Step 1:  Add the butter and confectioner's sugar.  It does not need to be sifted!  Thank goodness.


The butter is under the confectioner's sugar, all 1 1/2 sticks of it.


Once again, if your mixture is chunky, your butter was too cold.  Go have some more wine.  I left mine out on the counter while making the cupcakes, so I missed out on my extra wine, maybe I will learn for next time.

Step 2:  Add the vanilla.  Yum.


Tip:  If you don't want raspberry frosting, stop here and add 2 TBS of milk instead of the jam and you will have delicious vanilla frosting!


Step 3:  Add the seedless, raspberry jam and mix well.


I highly recommend tasting the frosting, if you want a heavy raspberry flavor, add a TBS at a time, you don't want it to get too thin.  For my taste, the flavor was perfect. 


I decided to try coring my cupcakes.  I've never tried it before and let me tell you, so easy and made these cupcakes even better, which I didn't think was possible.


Handy cupcake corer and the raspberry jam.  This is the same jam used for the frosting and for the filling.


Don't need any fancy tools for filling, just a standard kitchen spoon works perfect.


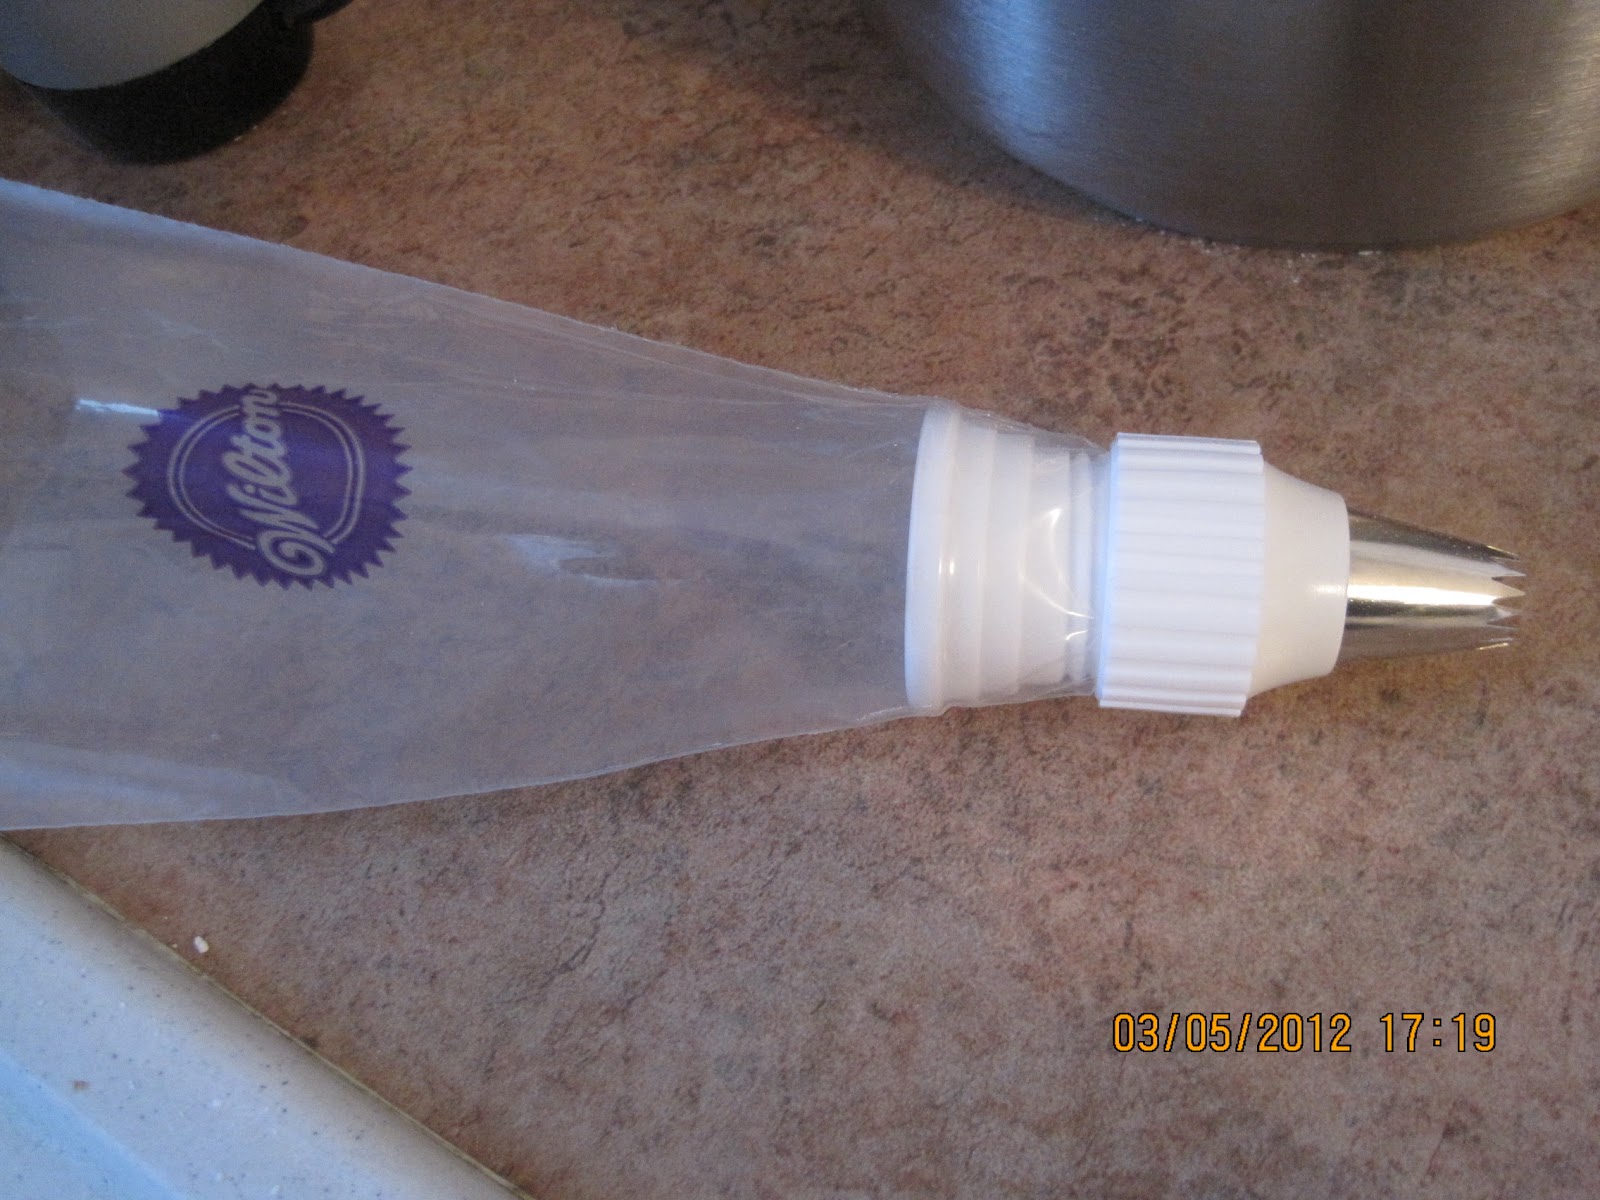
Still the best way to fill a pastry bag in my opinion.  The frosting doesn't get everywhere and makes it seem like you have an extra set of hands.


Here is the finished product!


The perfect swirl


My sister insisted that we cut open a cupcake to see how the inside looks.  Not the prettiest, but definitely the tastiest.


Wednesday, March 7, 2012

Welcome to "It's Sprinkling"


 Carrot Cupcakes


The necessary ingredients that you will need.


The most important & expensive ingredient in this particular recipe & yes, the price of $10.99 for a 4oz bottle of vanilla, is completely worth it.


Step 1:  Sift together the flour, baking powder, salt and cinnamon onto parchment paper or wax paper.  Set aside.  I did the flour first since my sifter couldn't fit all 2 1/2 cups of flour needed and then the remaining ingredients afterward.


 I don't have a normal sifter yet, so I use this.  To me, it works just as well, if not faster than a normal sifter.


 Step 2:  Cream 1 cup (2 sticks) of unsalted butter at room temperature until light and fluffy.  I left my butter out on the counter for about 3 hours and it wasn't quite ready, but I did it anyway.


 Step 3:  Add sugar to the butter and cream until light and fluffy.


This is what happens when your butter isn't quite to room temperature. Instead of light and fluffy, you get crumbles. Let sit on the counter for about 5 minutes to soften slightly.  In the meantime, I lined the cupcake pans and got the remaining ingredients (especially the hot water) all together.


This particular recipe yields 18 cupcakes.


 These are the liners I used, the color is more of a Tiffany blue.  Can be found at any local craft store, 75 for $1.99 is what I paid, without coupon because I left mine at home.  Gotta love spontaneous craft store stops!


 After letting the butter soften more (if needed) this is the consistency you should have after creaming the butter and sugar together.


 For the hot water, use a liquid measuring cup (one on the left) the one on the right is a dry ingredient measuring cup and yes, there is a difference in amount.  If the liquid is less than cup amounts, use the measuring spoons, those are universal.


Step 4:  Now it's time to incorporate the dry ingredients plus the hot water.  Add 1/3 of the flour mixture that you set aside into the bowl along with 1/3 of the hot water.  Mix until combined.  Don't forget to occasionally scrape the sides and the bottom of the bowl in between mixing.  Then continue with the 1/3 flour mixture and 1/3 water until all ingredients have been combined.  Do not over mix!  This will cause the batter to become tough and cupcakes will not turn out as tasty.


Step 5:  Looks like I skipped a step of pictures (oops).  This is after all the flour and water have been incorporated and the 1/2 cup of grated apple and 2 cups grated carrots have been folded in with a spatula.  When grating the apple, I found it hard to grate it with the skin on, so I peeled it and it was MUCH easier!  I used a standard vegetable/potato peeler that I also used to peel the carrots.


This is a close up of what the batter should look like.  At least this is what mine looks like.  What am I supposed to know?  This is my first time making homemade carrot cake batter, so for all I know, I could have made it wrong, right? Highly doubtful though since I followed the recipe to a "T" and if you do too, you should have no problem at all!


Step 6:  Now it's time for the fun part!  Scooping the batter into the cups without getting it all over the pan.  If you have a cupcake dispenser pen, I do not recommend using it for this particular recipe.  The batter is too thick for the nozzle.  I recommend using a standard cookie scoop with the release handle.  I have the standard mini one and just had to put two scoops into the cups, instead of one. 


 Now it's time to pop these into the 350 degree oven for 10-20 minutes and you've made your very own homemade cupcakes that are not too much more work than boxed cupcakes, just a little messier.  The recipe called for the cups to be 2/3 full.  I think mine are a little more, but I didn't want to make too many cupcakes and not have enough frosting for them.


 Only 14 minutes later and they are done!  I am sure everyone knows how hot their oven is to bake/cook anything.  With my oven, I either set the temperature lower and bake for lowest recommended time, or use the recommended temperature and bake significantly less amount of time.  So your amount of time baked in the oven, may differ from mine.


 A close up of the perfectly baked cupcakes!  Let them cool in the pans for 5 minutes, if you remove too soon you'll risk burning yourself.


 After those 5 minutes are up, transfer to wire cooling racks.  If you don't have any, plates will work, it just takes longer for them to completely cool.  This means, longer to wait to frost & to indulge! (So go out and buy yourself some so you no longer have to wait!)


 Step 7:  You guessed it.  Now it's time for the frosting making while the cupcakes cool!  This is one of the easiest recipes for frosting I have ever made.  Put all ingredients into the bowl & mix until frosting consistency.  Then blend on high for 2 minutes.  This last step is very important, especially if you're piping the frosting.  It lets air into the frosting and makes it fluffier.  Just like the butter when making the cake batter, I had to let this sit after mixing it for a little bit, plus there was cream cheese that was still too cold for room temperature.  Now's the time to go have a drink and put your feet up, you've come this far, you deserve a little 5 minute rest.


 Make sure to have your piping bag all ready to go.  I use the disposable Wilton pastry bags and recently started using the couplers & they do make a difference!  For these cupcakes, I used the large couplers and the #6B Wilton Large Star tip.


 Close up of the large star tip.


 To fill your pastry bag without the mess/extra hand you wish you had.  Put the pastry bag around a tall symmetrical glass and put your hand through the middle to open up the bag.  Add the frosting into the bag using a spatula.  Twist the bag if you feel like, it is surprisingly not necessary, but does help in the frosting not coming out from the top of the bag.


  Unfortunately, looks like I missed another picture step.  The final frosting consistency before I piped the cupcakes.  Homemade frosting will not be the consistency of canned frosting, it is slightly thicker, and 1000 times better tasting!


 Close up of the almost finished product.  The tip to piping frosting:  Start in the middle and end in the middle.  To get the perfect peak?  Press down on the frosting slightly at the end in the middle and release and it should work.  It takes a lot of practice, trust me!


 The top of the cupcake all finished.  I don't really do fancy decorations.  I personally don't care for the taste of fondant, so I usually stick to sprinkles.  1. They look pretty & 2. Who doesn't love sprinkles?


Recipe courtesy of The Cupcake Diaries book by the sisters of Georgetown Cupcakes


Carrot Cupcakes:  Yields 18

2 1/2 cups all-purpose flour
3 teaspoons baking powder
1 teaspoon ground cinnamon
1/2 teaspoon salt
16 tablespoons unsalted butter, at room temperature
2 cups sugar
4 large eggs, at room temperature
1/3 cup hot water
2 cups freshly grated carrots
1/2 cup freshly grated apple (approx. 1 medium apple, they use Gala, I used Empire, I say...use your favorite red!)

  1. Preheat oven to 350 F.  Line a standard cupcake pan with twelve baking cups, and a second pan with six baking cups, or grease pans with butter if not using baking cups.
  2. Sift together the flour, baking powder, cinnamon and salt on a sheet of parchment paper or wax paper and set aside.
  3. Place the butter in the bowl of a stand mixer or in a bowl with a handheld electric mixer.  Beat on medium speed until fluffy.  Stop to add the sugar; beat on medium speed until well incorporated.
  4. Add the eggs one at a time, mixing slowly after each addition.
  5. Reduce the speed to low.  At this stage, it's always important to mix as slowly and as little as necessary since you don't want to traumatize your batter.
  6. Add one third of the flour mixture to the butter mixture, then gradually add one third of the hot water, beating until well incorporated.  Add another third of the flour mixture followed by one third of the hot water.  Stop to scrape down the bowl as needed.  Add the remaining flour mixture, followed by the remaining hot water, and beat until combined.
  7. Using a spatula, fold the grated carrot and apple into the batter.
  8. Use a standard-size ice-cream scoop to fill each baking cup with batter, so that the wells are two-thirds full.  Bake for 18-20 minutes (start checking at 15 minutes), or until a toothpick inserted into the center of a cupcake comes out clean.  Transfer the pan to a wire rack to cool completely.


Vanilla Cream-Cheese Frosting

4 tablespoons unsalted butter, at room temperature (European style recommended) - My grocery store (Wegmans) surprisingly doesn't carry European butter, so I used regular unsalted butter, if you splurge on the vanilla, it will make up for the non-European butter.
4 cups confectioner's sugar, sifted
1/4 teaspoon pure vanilla extract (Nielsen-Massey pure Madagascar Bourbon recommended) - This makes a difference!
6 ounces cream-cheese, at room temperature

  1. Place all ingredients into the bowl of an electric mixer fitted with the paddle attachment; beat until well combined.  Be sure to beat on high speed at the very end for at least 2 minutes to ensure that the frosting is light and fluffy.